Tik Tok: A New Appreciation for Time
- sal5014
- Feb 18, 2020
- 5 min read
Assignment
Make the controls for a desk or bedside clock or timer. At minimum this should include controls to set the hour and minute. Automated time setting is not permitted for this assignment. Your controls should be clear enough that the user can figure out how to set the time without a manual.
Process
I started my process by coming up with an idea of what I wanted and sketching it. Because I struggle to wake up in the mornings I decided to make an alarm clock. I wanted a cool way to turn off the alarm and, because I have terrible eyesight, I decided that I wanted my clock to have a target that you needed to hit in order to turn the alarm off, effectively waking the user up.

I thought about different materials and how the would look and bounced back and forth between a super fancy look and a more toy-like or vibrant look. I decided that, because of the concept, the latter would work best.
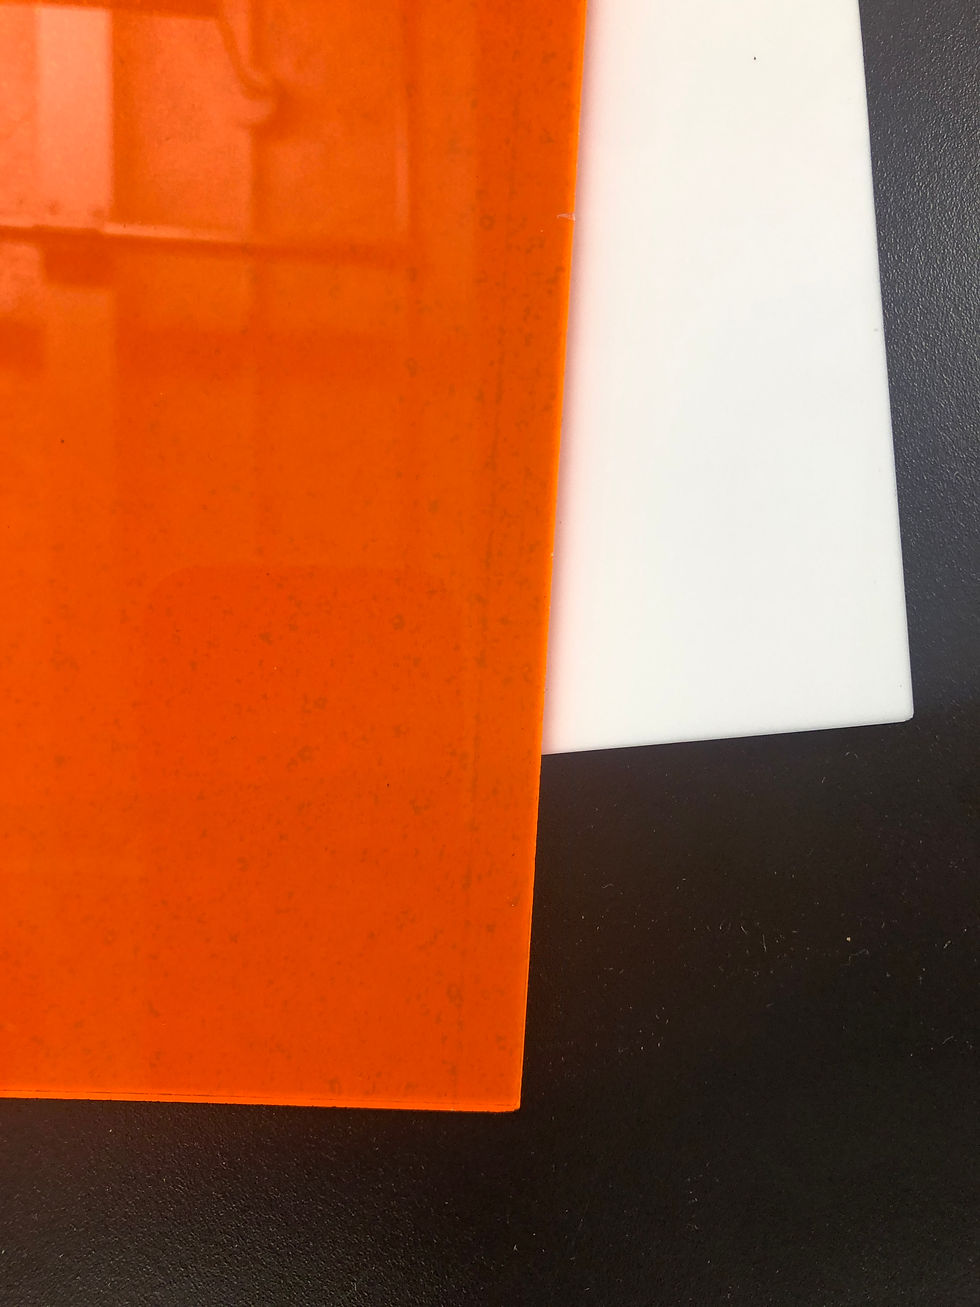
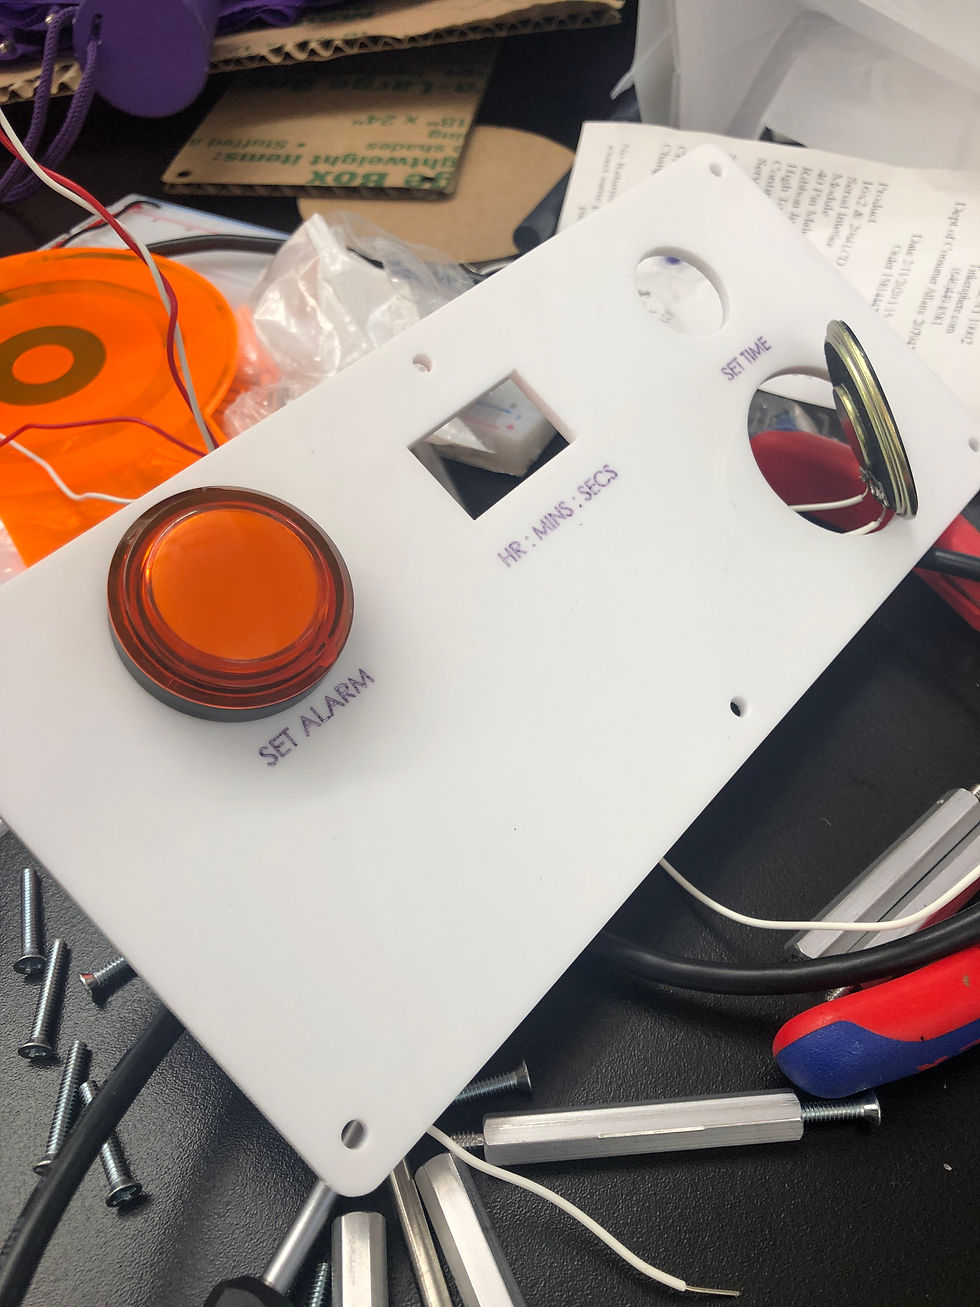
I got this palette stuck in my head of shiny white, neon orange and matte purple from the beginning and knew I wanted to use acrylic. When I went to buy them they had run out of purple so I went with white and orange.


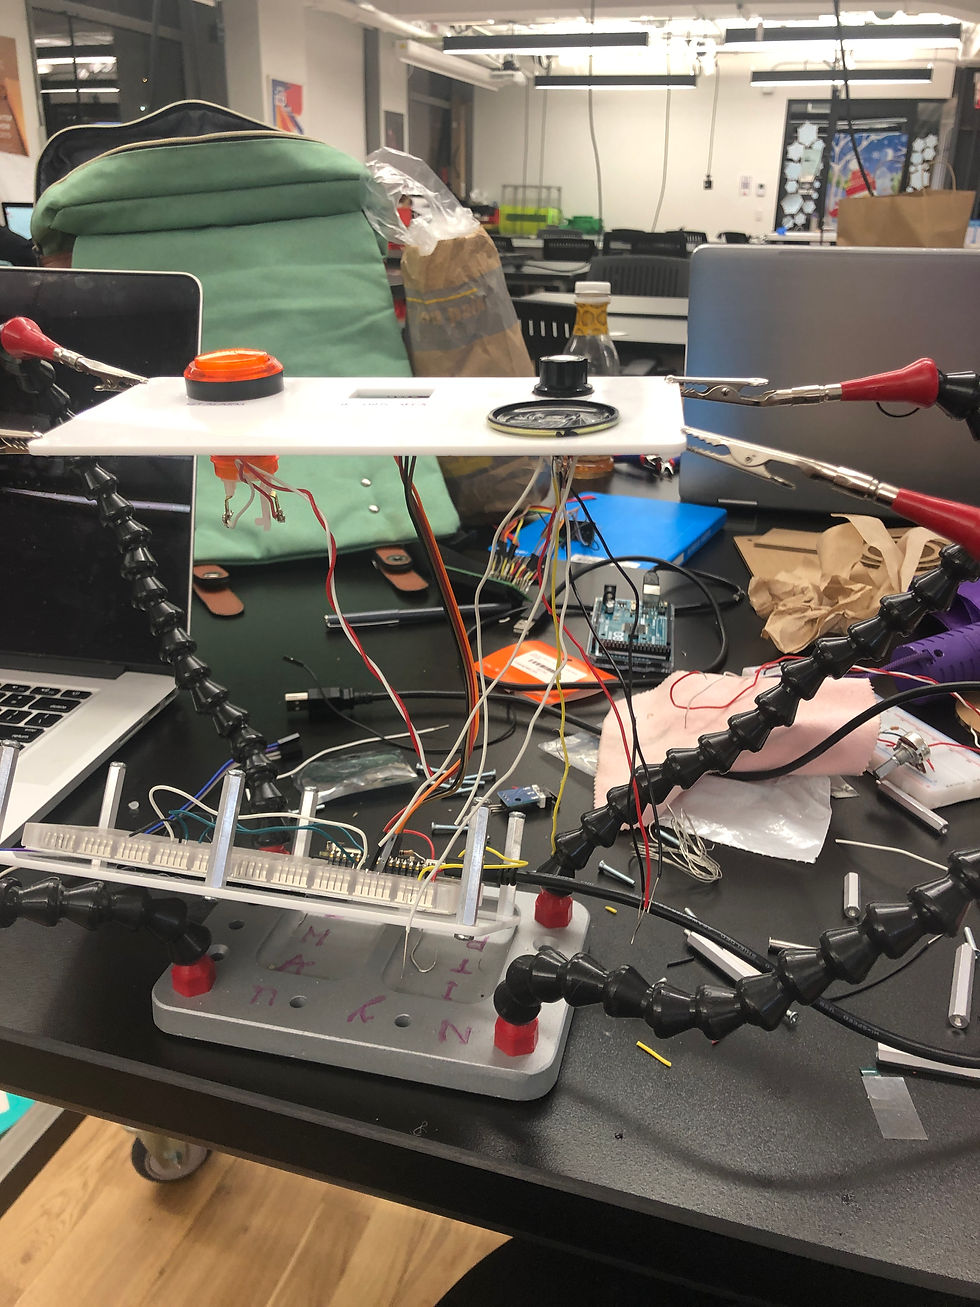
Once I secured my materials and had the stand-offs from class I set about to program my clock with the components on the breadboard.
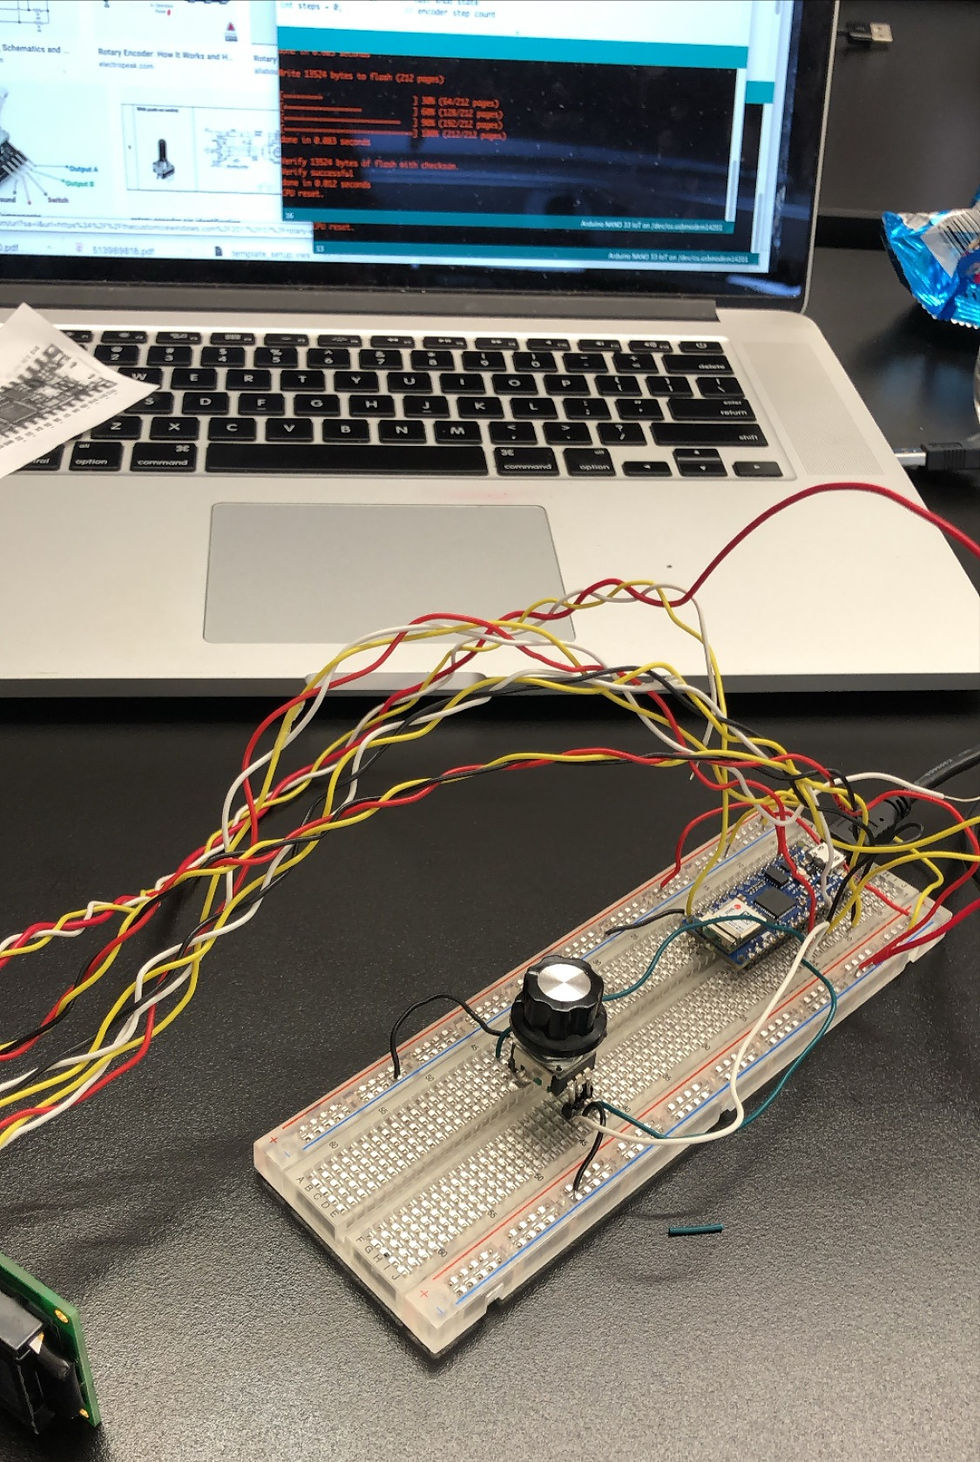
I decided to try out the code with a rotary encoder in order to make it as simple as possible for myself. But at the beginning my numbers wouldn't go backwards, only up and then restarted. After I consulted with Tom I realized the one I was using was badly wired for the code I needed so I switched to a different one and soldered pins to it because I wasn't getting a great connection to the breadboard using the ones it came with.
In my idea my clock has a very large display on it to show the time but I only had a 16x2 screen so I decided to use that. The screen was an absolute disaster for my "keep it simple" approach. It has 16 pins to which I soldered wires. After trying to get it to work for a long time and only managing to turn it on, I discovered it needed a driver and that some came with it included. I went to Thinkersphere and they had ran out of the screen with included driver so I just bought the driver and attempted to attach it and make it work.
After many broken wires and a lot of frustration I was about to display my clock on a P5 sketch until my classmate Tito lended me the small OLED screen I ended up using (very small for what I wanted). I tested it with example codes and then adapted those to my clock code in order to show the time. It took me a VERY long time to get that to work because it wasn't behaving as I expected. My numbers kept running off my screen. As always with programming it ended up being a super simple thing that I hadn't thought about.
I also realized I would need a button to go into "alarm mode" to set it and remembered I had an orange arcade button already wired that went perfectly with my palette.
I started running out of time so I started sketching my clock on Vectorworks and testing on cardboard because the assembly would have to happen as I attempted to perfect my code.
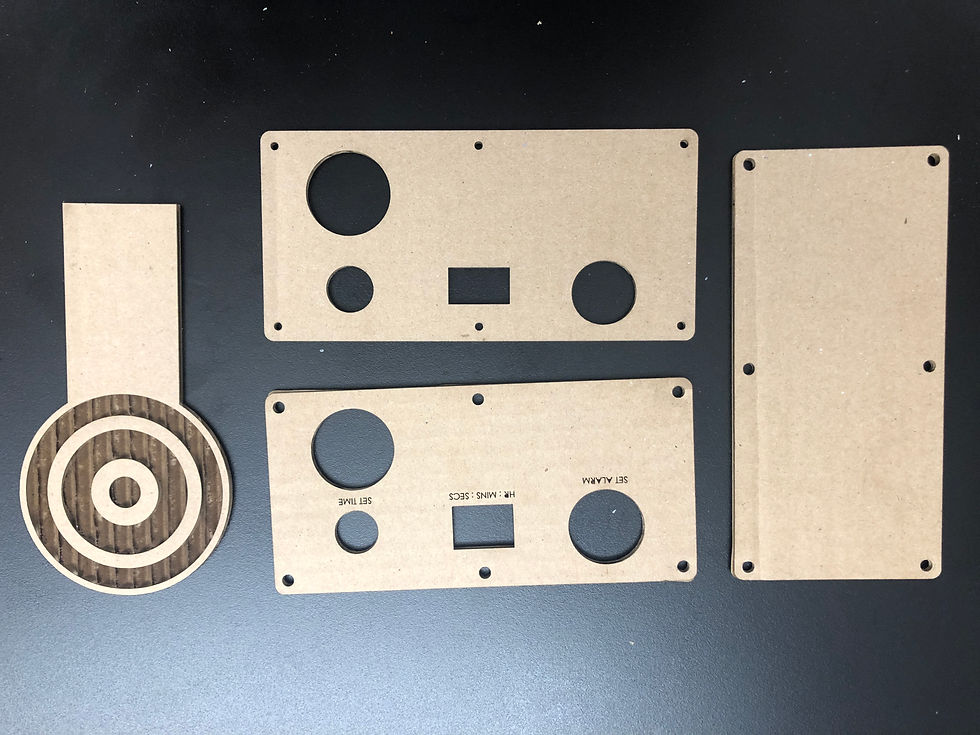
I had to make three prototypes before landing on the one I needed.
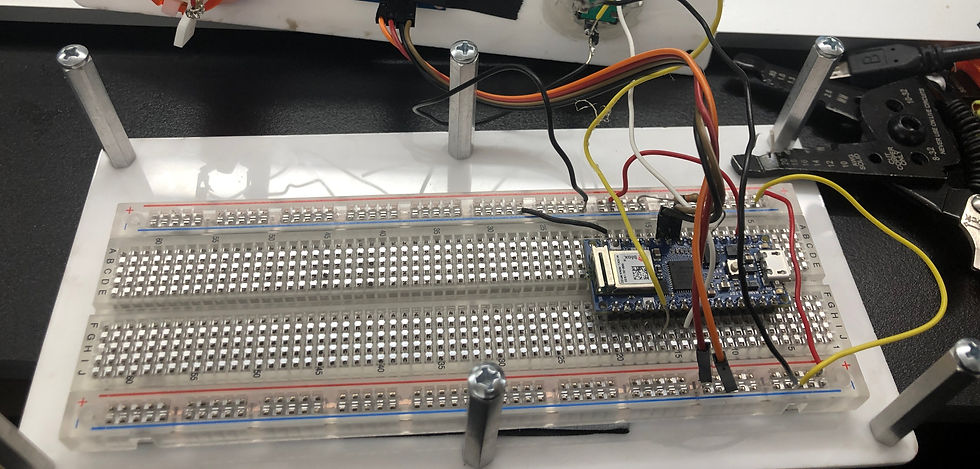
Assembling the thing after wiring with stiff cable was a nightmare. My encoder broke twice, I lost some cables into my breadboard and at some point after trying to add the alarm my code stopped working.
I managed to sneak in the purple in my etching.
After I cut many cables and managed to make it work while assembled I set out to add the alarm and realized I hadn't thought out the target/alarm off mechanics and hadn't left any holes or anything to attach it to the clock.
In the end my alarm didn't work as I expected and I couldn't read the button at all in order to get it into "alarm mode". I probably should've tested each component individually like I did with the screen but I ran out of time.
Code
#include <SPI.h>
#include <Wire.h>
#include <Adafruit_GFX.h>
#include <Adafruit_SSD1306.h>
#include <Encoder.h>
#include <RTCZero.h>
const int buttonAlarm = A0; // input pin for pushbutton alarm
int previousButtonStateAlarm = HIGH; // for checking the state of a pushButton
const int buttonPin = 4; // pushbutton pin
Encoder knob(2, 3); // encoder on pins 2 and 3
int lastButtonState = LOW; // last button state
int lastKnobState = 0; // last knob state
int steps = 0; // encoder step count
RTCZero rtc;
int currentProperty = 0; // time property being changed
int lastSecond = 0;
#define OLED_WIDTH 128 // OLED display width, in pixels
#define OLED_HEIGHT 64 // OLED display height, in pixels
#define OLED_ADDR 0x3C
Adafruit_SSD1306 display(OLED_WIDTH, OLED_HEIGHT, &Wire, -1);
void setup() {
pinMode(buttonAlarm, INPUT); // make the pushButton pin an input:
// initialize button pin and Serial and keyboard:
pinMode(buttonPin, INPUT_PULLUP);
rtc.begin();
rtc.setTime(0, 0, 0);
Serial.begin(9600);
display.begin(SSD1306_SWITCHCAPVCC, OLED_ADDR);
display.setTextSize(2);
display.setTextColor(WHITE, BLACK);
display.setCursor(18,25);}
void loop(){
// read the sensors:
int buttonState = digitalRead(buttonPin);
int knobState = knob.read();
// Serial.println(knobState);
// if the button has changed:
if (buttonState != lastButtonState) {
// debounce the button:
delay(10);
// if button is pressed:
if (buttonState == LOW) {
// increment currentProperty:
currentProperty++;
// limit it to three possible values (h, m, s)
currentProperty %= 4;
}
// save current state for next time through the loop:
lastButtonState = buttonState;
}
// compare current and last knob state:
int knobChange = knobState - lastKnobState;
// if it's changed by 4 or more (one step):
if (abs(knobChange) >= 4) {
// get the direction (-1 or 1):
int knobDirection = (knobChange / abs(knobChange));
// Serial.println(knobDirection);
// use the change to change the current time property:
changeProperty(currentProperty, knobDirection);
// save knobState for next time through loop:
lastKnobState = knobState;
}
// print the time once a second:
if (rtc.getSeconds() != lastSecond) {
printTime();
// save current second for future comparison:
lastSecond = rtc.getSeconds();
}
// read the pushbutton:
int buttonStateAlarm = digitalRead(buttonAlarm);
// if the button state has changed,
if ((buttonStateAlarm != previousButtonStateAlarm) && (buttonStateAlarm == HIGH)) {
// type out a message
Serial.print("Alarm Set");}
//// save the current button state for comparison next time:
previousButtonStateAlarm = buttonStateAlarm;
}
void changeProperty(int thisProperty, int changeValue) {
int setting;
switch (thisProperty) {
case 0: // nothing; time is set now
break;
case 1: // hours
setting = rtc.getHours() + changeValue;
if (setting > 12) setting = 0;
if (setting < 0) setting = 12;
rtc.setHours(setting);
break;
case 2: // minutes
setting = rtc.getMinutes() + changeValue;
if (setting > 59) setting = 0;
if (setting < 0) setting = 59;
rtc.setMinutes(setting);
break;
case 3: // seconds
setting = rtc.getSeconds() + changeValue;
if (setting > 59) setting = 0;
if (setting < 0) setting = 59;
rtc.setSeconds(setting);
break;
}
printTime();
display.display();
}
void printTime() {
display.clearDisplay();
// // print the time:
if (rtc.getHours() < 10) Serial.print("0"); // leading zero
Serial.print(rtc.getHours() );
display.print(rtc.getHours());
// display.display();
Serial.print(":");
display.print(":");
// display.display();
//
if (rtc.getMinutes() < 10) Serial.print("0"); // leading zero
Serial.print(rtc.getMinutes());
display.print(rtc.getMinutes());
// display.display();
Serial.print(":");
display.print(":");
// display.display();
//
if (rtc.getSeconds() < 10) Serial.print("0"); // leading zero
Serial.println(rtc.getSeconds());
display.println(rtc.getSeconds());
display.display();
display.setCursor(18,25);
//display.clearDisplay();
}
Conclusion
This assignment taught me to get off the breadboard and into prototyping as soon as humanly possible. I spent a lot of time concerned about making my code work since it's my weakest part and by the time I had that working and started assembling I ran into a lot of issues concerning space and wires. Had I started prototyping sooner those issues could've been solved with more ease. I also feel I might've spent too much time on the look of my clock rather than on how it worked.


Comments